This article was prepared with AI assistance based on an analysis of the current Lumina Studio source code, existing Wiki content, and relevant workflows. It has been checked against the current version, but omissions or details that become outdated may remain as the software evolves. If you find an error or have a clearer explanation, example, or suggestion, please leave a comment on this page or propose an edit on GitHub.
Hue Protection
Hue Protection reduces conspicuous hue shifts during colour matching. An ordinary nearest-colour search may, for example, select a slightly purple candidate for blue or an orange candidate for red because its overall colour difference is smaller. Hue Protection increases the cost of that hue deviation.
The option changes candidate ranking. It does not add filaments, change model geometry, or alter slicer parameters.
Enable Hue Protection
- Open Converter → Core Settings.
- Expand Advanced Settings.
- Enable Hue Protection.
- Build the preview again.
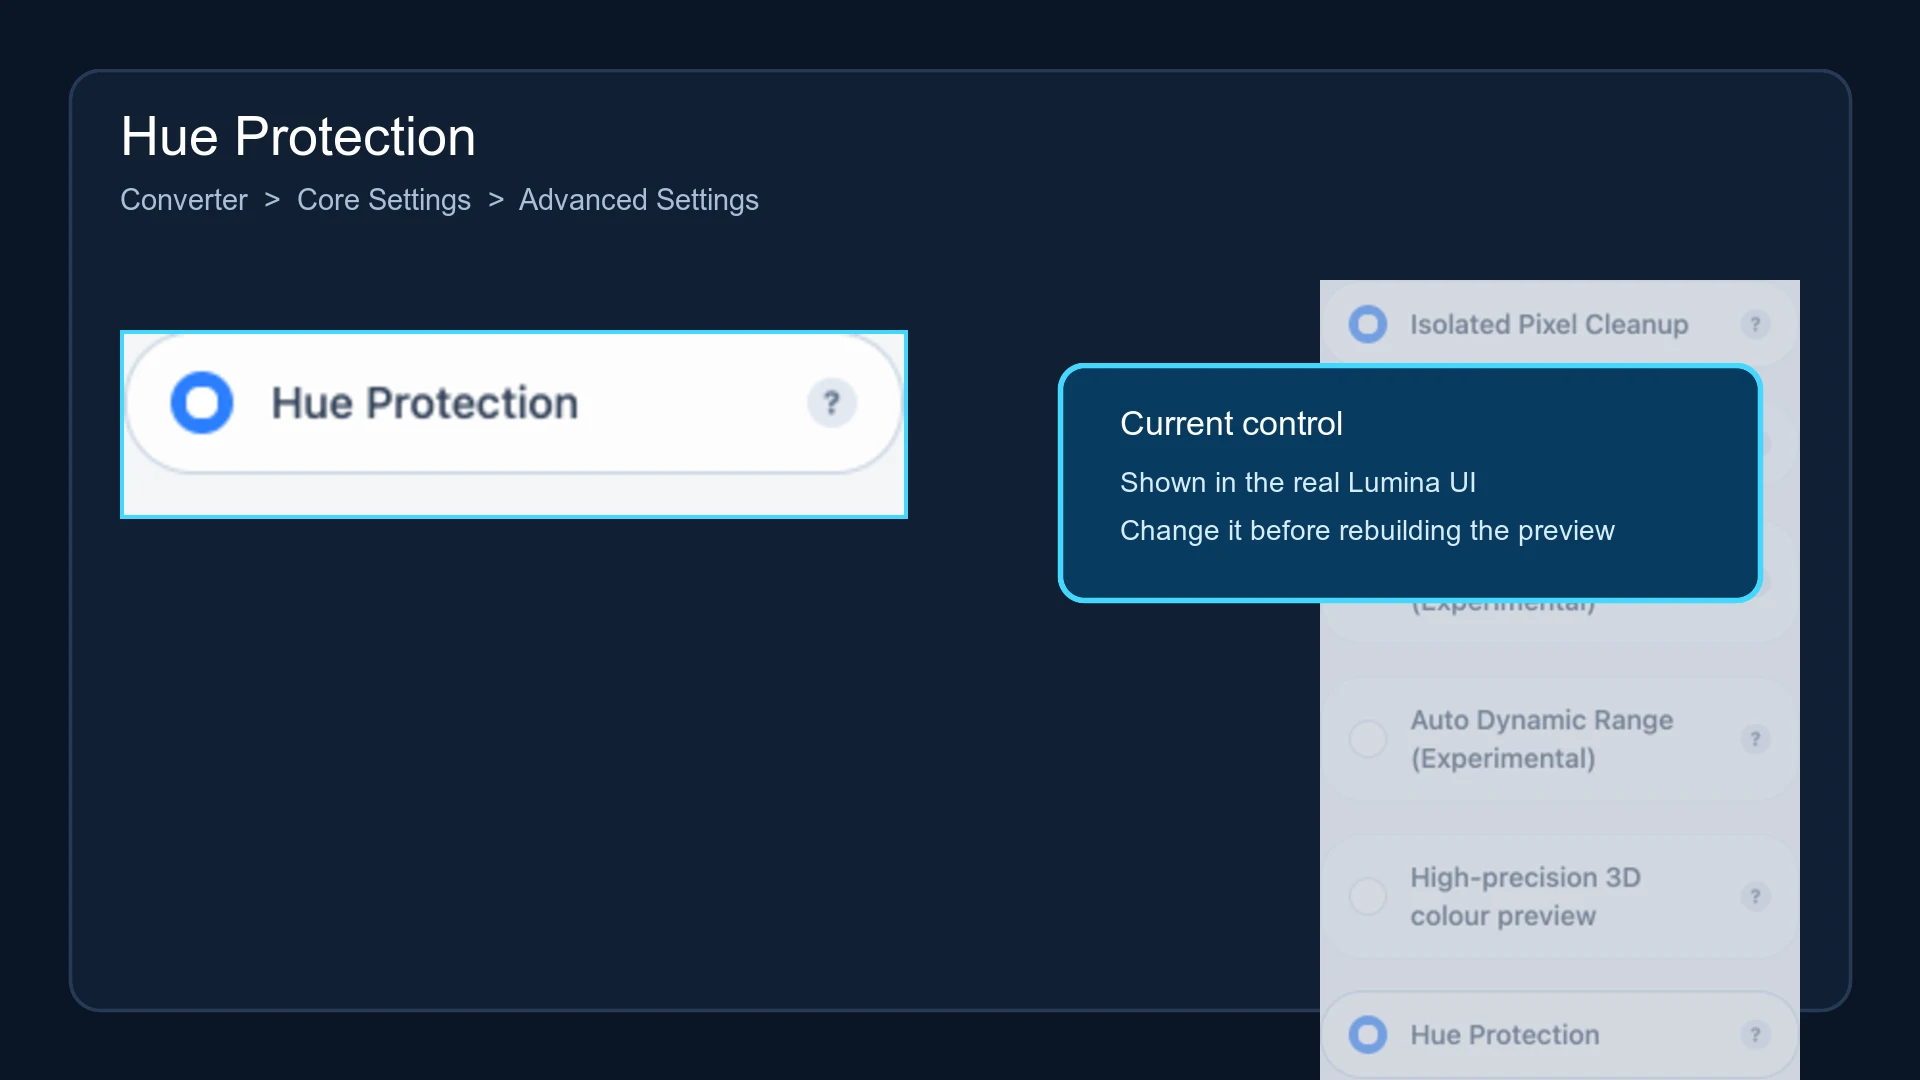
After the switch is enabled, the dependent Dark Chroma Gate control appears underneath it. The gate does not move the lightness boundary that defines a dark colour. It decides which dark pixels may enter the low-chroma dark-candidate branch. Its default is 15. A value of 0 is a special “all dark colours may enter” state, not an off state. See Dark Chroma Gate for the complete behaviour.
What changes during matching
Without Hue Protection, candidate selection primarily minimises the overall CIELAB colour difference. With Hue Protection enabled, Lumina still considers lightness and chroma but adds a larger penalty for hue deviation. This favours candidates that remain in the same or a nearby hue family.
The option cannot create a colour missing from the active LUT. If no reachable candidate is close to the source hue, the result still has to use one of the available recipes.
When to compare it
Compare previews when:
- a recognisable red, blue, or green has shifted into a neighbouring hue family;
- the image contains several nearby hues and hue direction matters more than a small lightness change;
- the LUT already contains a nearby hue but ordinary matching did not select it.
Low-chroma images, black-and-white images, and palettes without the required hue may show little change.
Relationship with Precise Colour Matching
Hue Protection and Precise Colour Matching are not applied simultaneously. When Precise Colour Matching is enabled, Hue Protection becomes unavailable and the processing request sets its independent hue weight to zero.
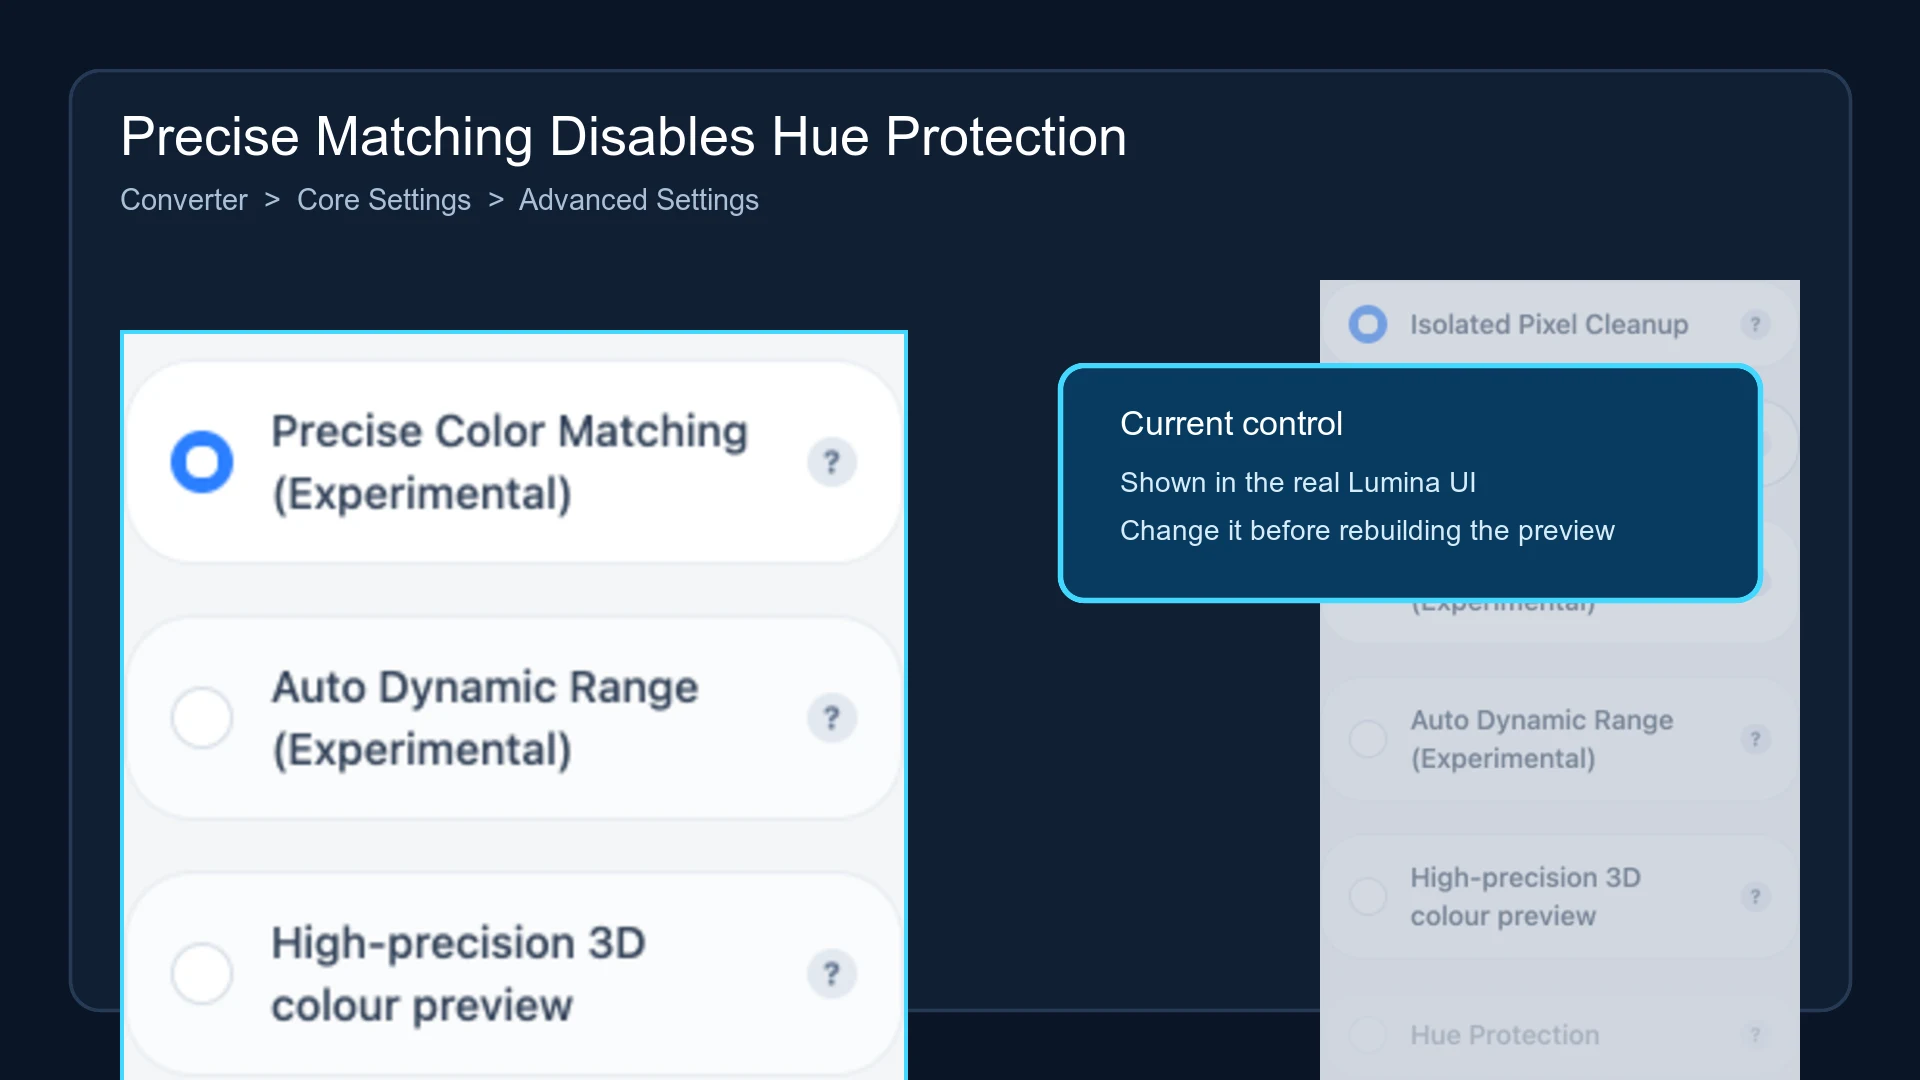
Test the methods separately while keeping the image, LUT, and other colour settings unchanged.
Checking the result
Compare the same regions before and after enabling the switch. First verify whether the main hue moved in the desired direction, then check highlights, shadows, and gradients for unwanted trade-offs. Build a new 3MF after accepting the preview; an old file does not update when the web control changes.
Submit feedback
Your feedback is sent privately to the Wiki maintainers and is not displayed publicly on this page.