This article was prepared with AI assistance based on an analysis of the current Lumina Studio source code, existing Wiki content, and relevant workflows. It has been checked against the current version, but omissions or details that become outdated may remain as the software evolves. If you find an error or have a clearer explanation, example, or suggestion, please leave a comment on this page or propose an edit on GitHub.
Quantize Colors
Quantize Colors is the colour-cluster budget used before printable recipes are matched. It is not the number of filament spools and it is not the number of objects in the final 3MF. One quantized colour may resolve to a multilayer filament recipe, while several source colours may resolve to the same recipe.
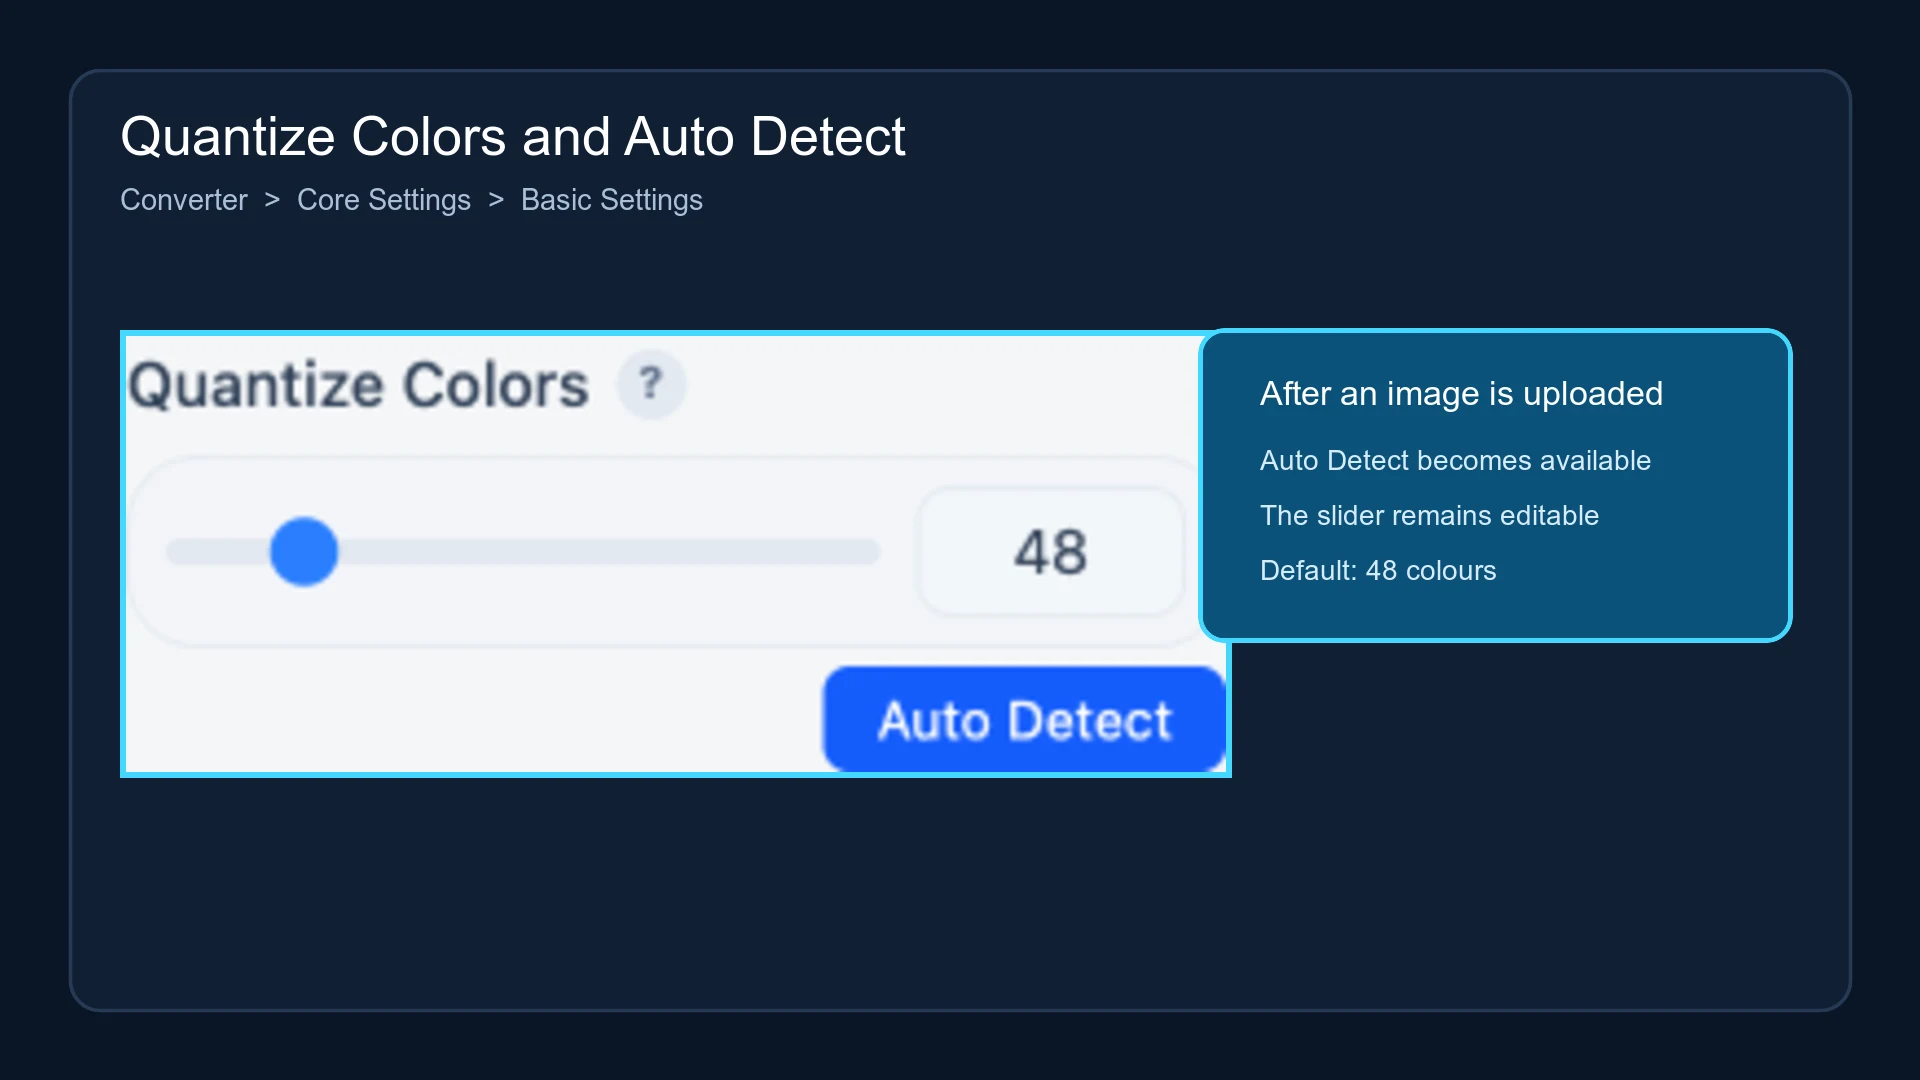
The default is 48. With the normal ceiling, the available range is 8–256 in steps of 8.
Location
Open Converter → Core Settings → Basic Settings. The control appears below Modeling Mode.
What the value changes
In the high-fidelity raster path, Lumina first scales the image to its target dimensions. K-Means then groups similar pixels into no more than the selected number of cluster centres. A larger value can retain more local colour variation and gradient steps. A smaller value produces fewer colour regions and normally processes faster.
The value is a ceiling, not a required count. If the resized image contains fewer effective colours, Lumina does not invent extra colours merely to reach the selected value. Recipe matching against the selected LUT or Material Archive happens after quantization.
Behaviour by conversion path
| Path | How the value is used |
|---|---|
| High-fidelity raster | Maximum number of whole-image K-Means clusters |
| Pixel Art | Pixel-colour reduction budget; existing colours are retained when their count is already within the budget |
| Native SVG Vector | Shapes use their SVG fills and strokes directly; whole-image K-Means is not run |
| SVG + Material Archive gradients | Caps the number of discrete gradient bands; the internal safe range is 16–32 |
| Colour Card | The card layout and recipes define the result; do not read this as ordinary image detail |
The statement that this setting has no effect in Vector mode therefore applies to whole-image quantization of native vector shapes. A Material Archive gradient path can still read the value, then clamp it to its own safe range.
Auto Detect
After an image is uploaded, Auto Detect analyses the image at the current target width and writes a suggested value back to the slider. The analyser:
- scales the image to about 5 pixels/mm, with a maximum analysis width of 600 pixels;
- counts coarsely quantized unique colours;
- measures significant hue groups and the coloured-pixel ratio;
- measures how concentrated the dominant colours are;
- measures edge density and adjusts the result by the square root of the target width.
The result is aligned to 8, 16, 24, 32, 48, 64, 96, 128, 160, 192, or 256. The width multiplier is bounded between 0.8 and 2.5.
Auto Detect is a starting point. It does not inspect which colours the selected LUT can reproduce, and it does not replace a visual preview. The button is unavailable until an image has been uploaded.
Adjusting and checking the result
- Increase the value gradually when visible gradients or edges are being merged.
- If the result contains many one-pixel speckles, first check source noise and final print size. A larger budget often preserves more speckles.
- If a high value still appears simplified in the 3D viewer, check High-precision 3D Colour Preview.
- To go above 256, use Unlock Quantize Ceiling. Unlocking the ceiling does not change the current value by itself.
Changing the value invalidates an existing 3MF and download result. Build a new preview or model. Lumina recipe cards store the selected quantize value.
Submit feedback
Your feedback is sent privately to the Wiki maintainers and is not displayed publicly on this page.