This article was prepared with AI assistance based on an analysis of the current Lumina Studio source code, existing Wiki content, and relevant workflows. It has been checked against the current version, but omissions or details that become outdated may remain as the software evolves. If you find an error or have a clearer explanation, example, or suggestion, please leave a comment on this page or propose an edit on GitHub.
ColorChecker Calibration
With ColorChecker Calibration enabled, an uploaded calibration-board photograph first enters the calibration dialog. The confirmed full-resolution result is then passed to LUT Extractor; calibration is not performed on the UI thumbnail alone.
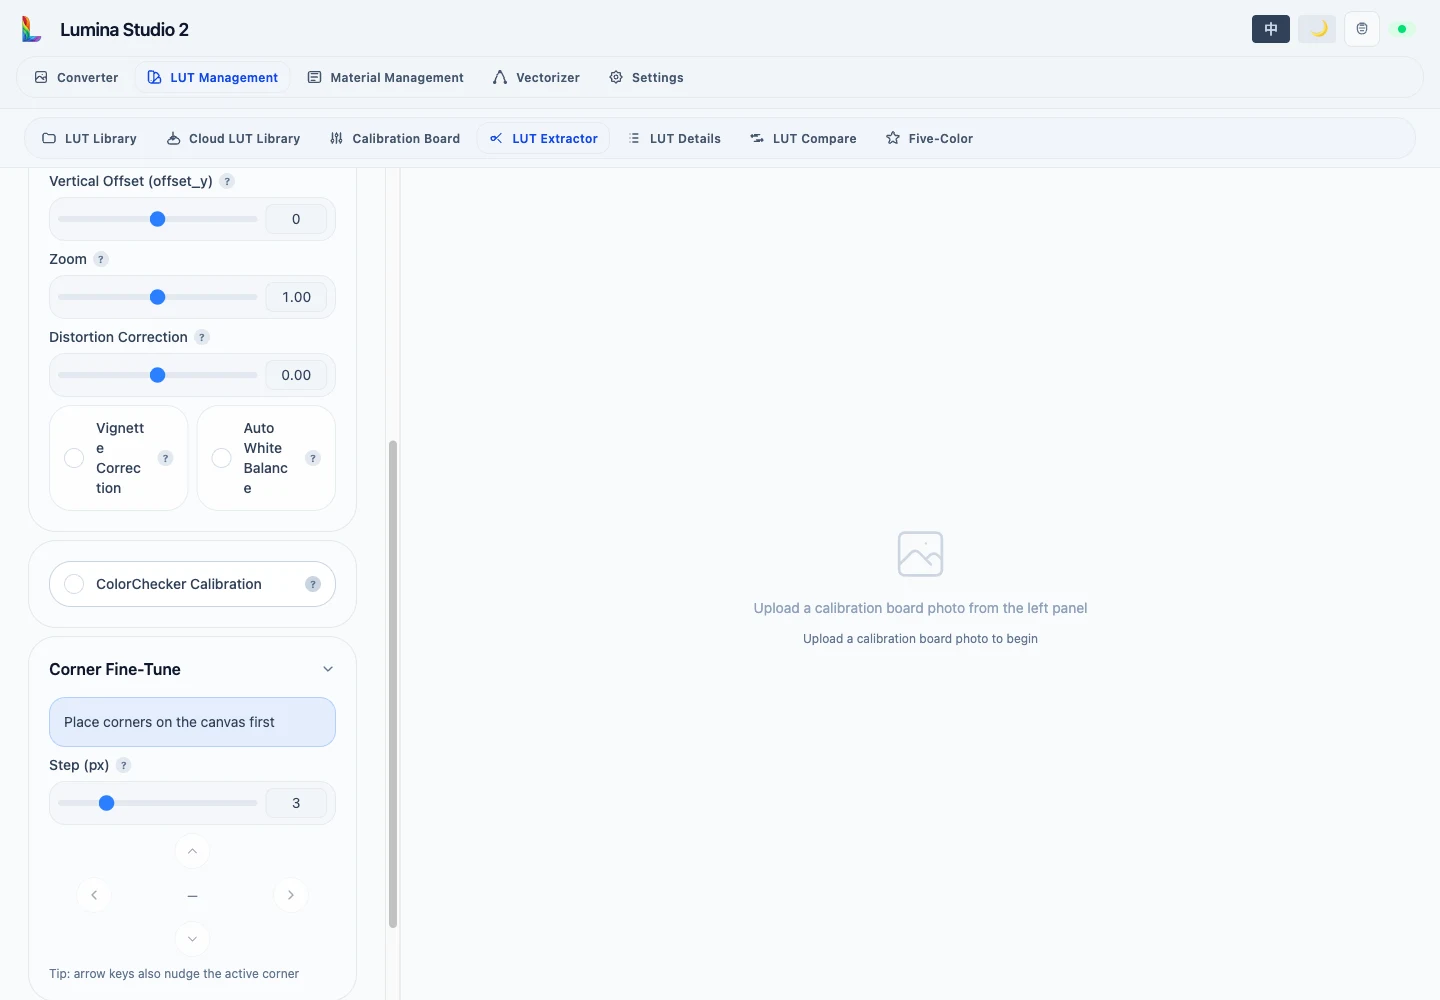
Reference and placement
Choose a built-in or custom reference. A reference contains patch Lab values, white point, and a content hash. An uploaded
.xlsx creates a session custom reference. Auto detection and calibration stay disabled until the reference is ready.
Auto Locate returns four corners and confidence. Corners can also be placed and dragged manually. Patch order supports normal, 180° rotation, horizontal flip, and vertical flip. Verify the rectified preview against the selected reference.
Sampling and fitting
- Sampling method: mean or median.
- Sample radius: centre area sampled from each patch.
- Output blur: optional smoothing of the corrected output.
- Gray normalisation: automatic, enabled, or fallback.
- Calibration algorithm: 3×3 matrix, 3×4 matrix, root polynomial, or automatic selection.
A larger sample is not automatically better: touching patch edges, glare, or shadows contaminates the fit.
Confirming the result
The result reports mean, median, P95, and maximum ΔE00, plus the worst patch and gray checks. Excluded patches or risky neutral-reference deltas appear as warnings. Accept passes the image to extraction; Retry returns to the calibration parameters without applying the unconfirmed result.
ColorChecker calibration can reduce camera and illumination bias. It cannot repair clipping, severe glare, missed focus, or an incorrectly printed board.
Submit feedback
Your feedback is sent privately to the Wiki maintainers and is not displayed publicly on this page.