This article was prepared with AI assistance based on an analysis of the current Lumina Studio source code, existing Wiki content, and relevant workflows. It has been checked against the current version, but omissions or details that become outdated may remain as the software evolves. If you find an error or have a clearer explanation, example, or suggestion, please leave a comment on this page or propose an edit on GitHub.
Photo Correction and Corner Placement
Photo correction aligns the board grid with the extraction template. It affects the active upload only and does not modify the photograph on disk.
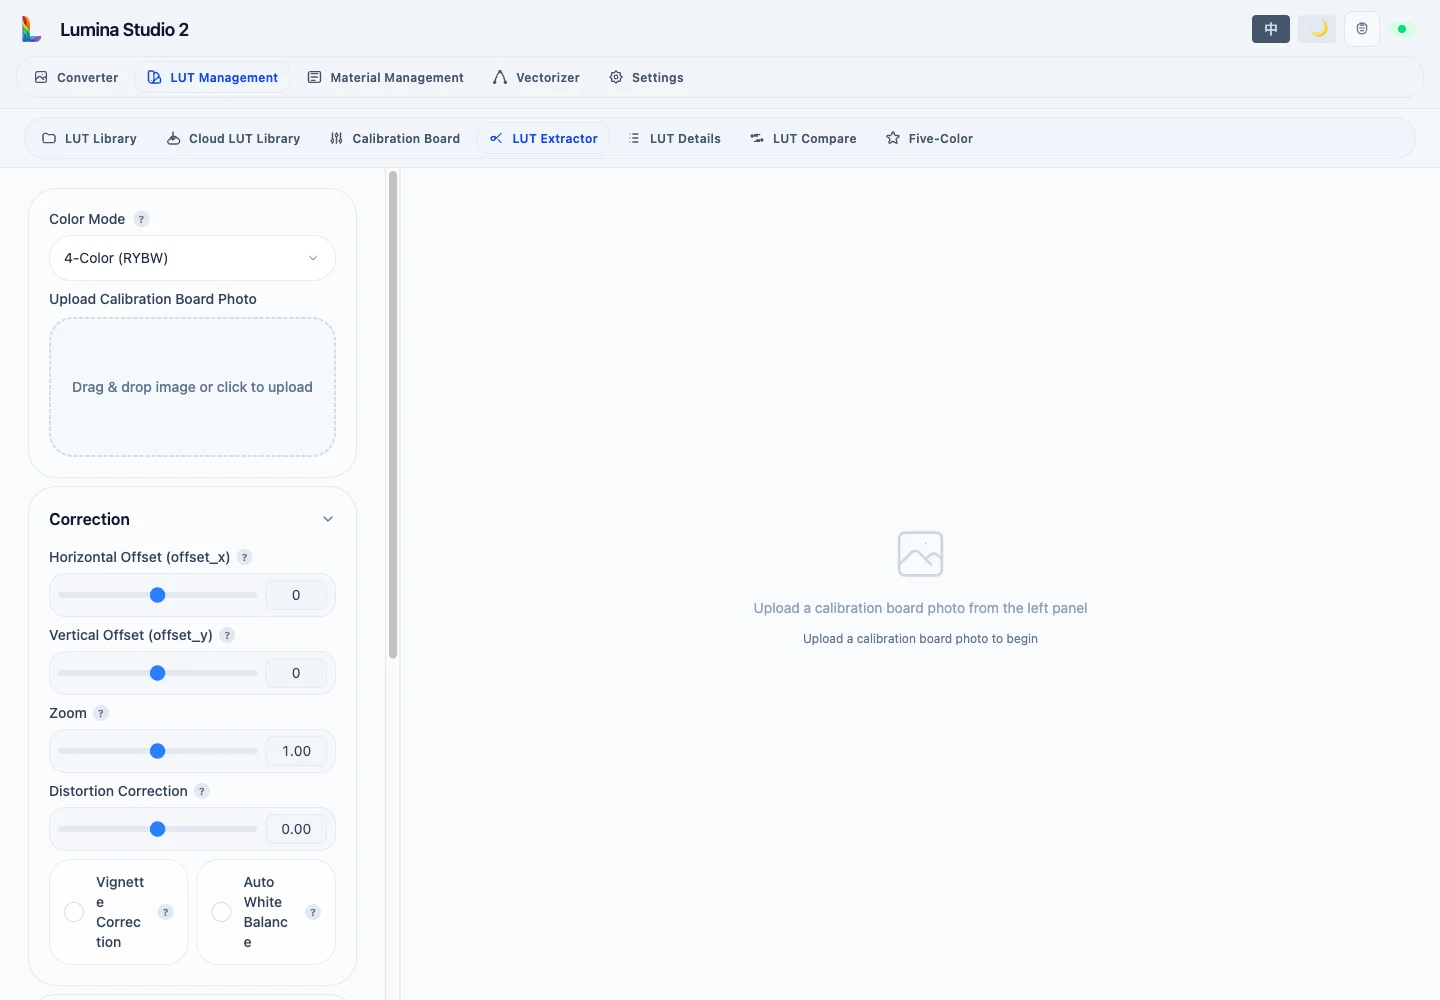
Correction controls
| Control | Range | Effect |
|---|---|---|
| Horizontal Offset | -30–30 | Moves the sampling template along X |
| Vertical Offset | -30–30 | Moves the sampling template along Y |
| Zoom | 0.80–1.20 | Scales the sampling area uniformly |
| Distortion Correction | -0.20–0.20 | Compensates barrel or pincushion distortion |
| Vignette Correction | On/off | Compensates edge darkening |
| Auto White Balance | On/off | Produces a white-balanced preview for this image |
Use these controls for systematic image errors. If only one corner is displaced, move that corner instead of shifting the entire template.
Four corners
After placing four corners on the canvas, choose the active corner. Step accepts 1–10 px; the direction buttons and
keyboard arrow keys move the active corner by that amount. Clear Corners removes positioning points without deleting the
uploaded photograph.
Place corners on the specified outer board marks, not on the nearest patch centre. If the rectified grid remains skewed, check corner order before increasing distortion correction.
Continue with LUT Extraction Workflow.
Submit feedback
Your feedback is sent privately to the Wiki maintainers and is not displayed publicly on this page.