This article was prepared with AI assistance based on an analysis of the current Lumina Studio source code, existing Wiki content, and relevant workflows. It has been checked against the current version, but omissions or details that become outdated may remain as the software evolves. If you find an error or have a clearer explanation, example, or suggestion, please leave a comment on this page or propose an edit on GitHub.
LUT Extraction Workflow
LUT Extractor samples every patch in a printed calibration-board photograph and creates a LUT containing measured colours, recipes, and palette metadata.
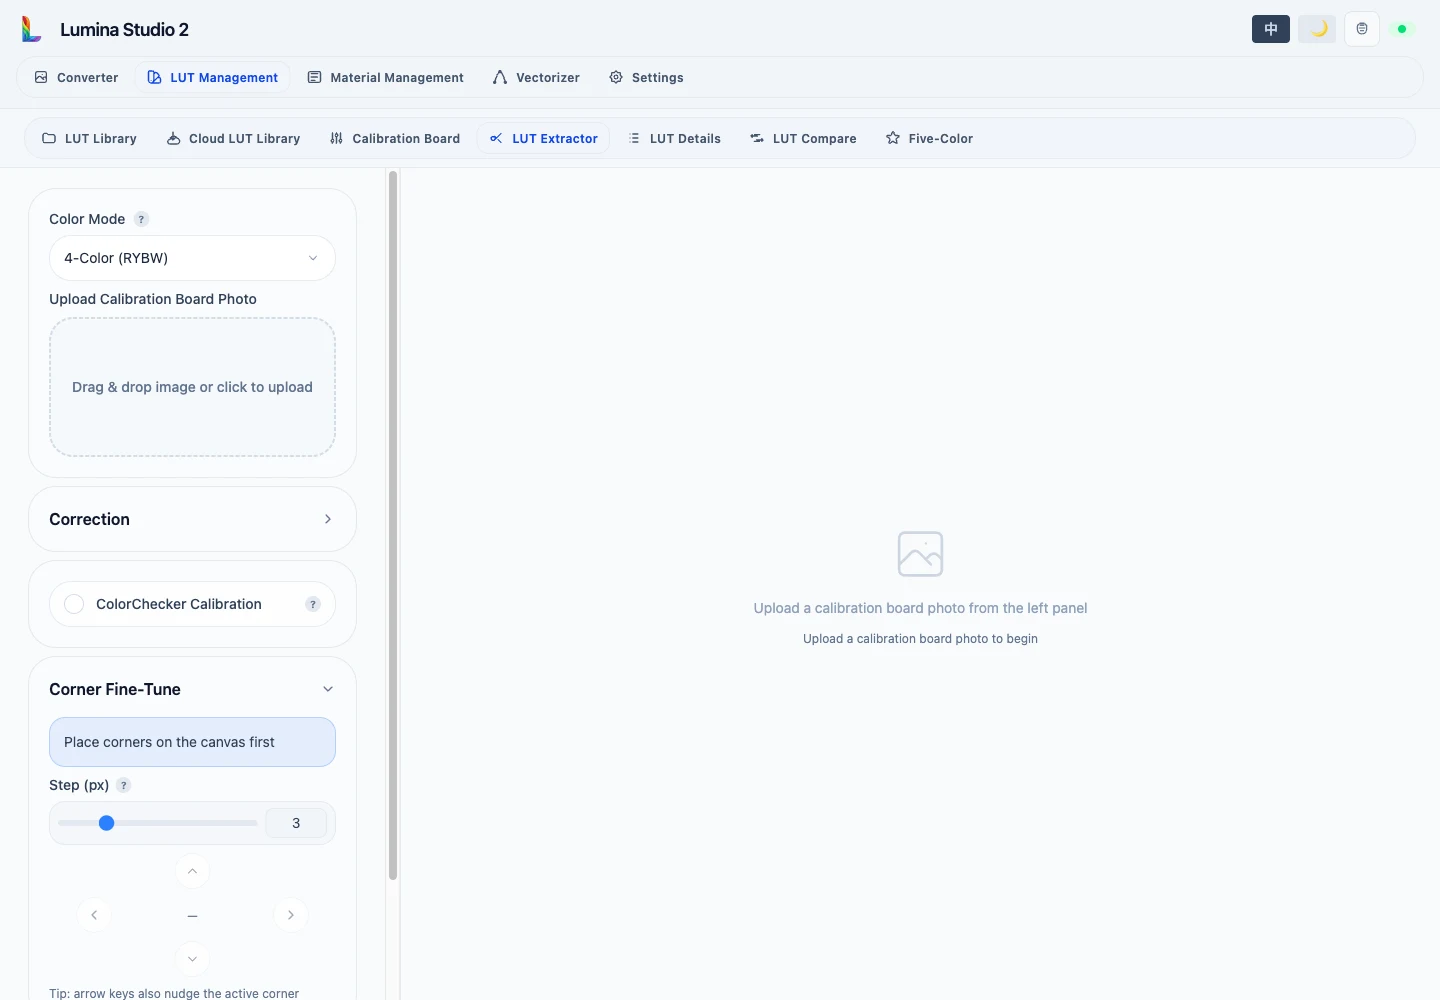
Workflow
- Select the colour mode and page used to generate the board.
- Upload the photograph. Common images and DNG, CR2/CR3, NEF, ARW, ORF, RW2, RAF, PEF, SRW, and RAW camera files are accepted.
- Place the four corners in the displayed order, then apply photo correction or pixel nudging if required.
- Select Extract Colors and inspect the rectified board, patch preview, and invalid cells.
- For a multi-page mode, extract every page and then merge the set.
- Enter manufacturer, material type, and each base colour's name and value, then confirm the palette.
- Download the LUT.
Replacing or rotating the image, or changing colour mode, clears corners and incomplete results so stale geometry is not applied to the new photograph.
Multi-page modes
Standard 8-colour and 5-colour Extended use multi-page results; full 8-colour export can contain additional pages. The status list marks each required page. Merge becomes available only after the required set has been extracted.
Manual patch correction
If one sampled patch is wrong, edit that cell in the extraction preview. Corrections remain in the current extraction session and are written into the final LUT after palette confirmation.
Related pages:
Submit feedback
Your feedback is sent privately to the Wiki maintainers and is not displayed publicly on this page.