This article was prepared with AI assistance based on an analysis of the current Lumina Studio source code, existing Wiki content, and relevant workflows. It has been checked against the current version, but omissions or details that become outdated may remain as the software evolves. If you find an error or have a clearer explanation, example, or suggestion, please leave a comment on this page or propose an edit on GitHub.
Gradient Card Extraction
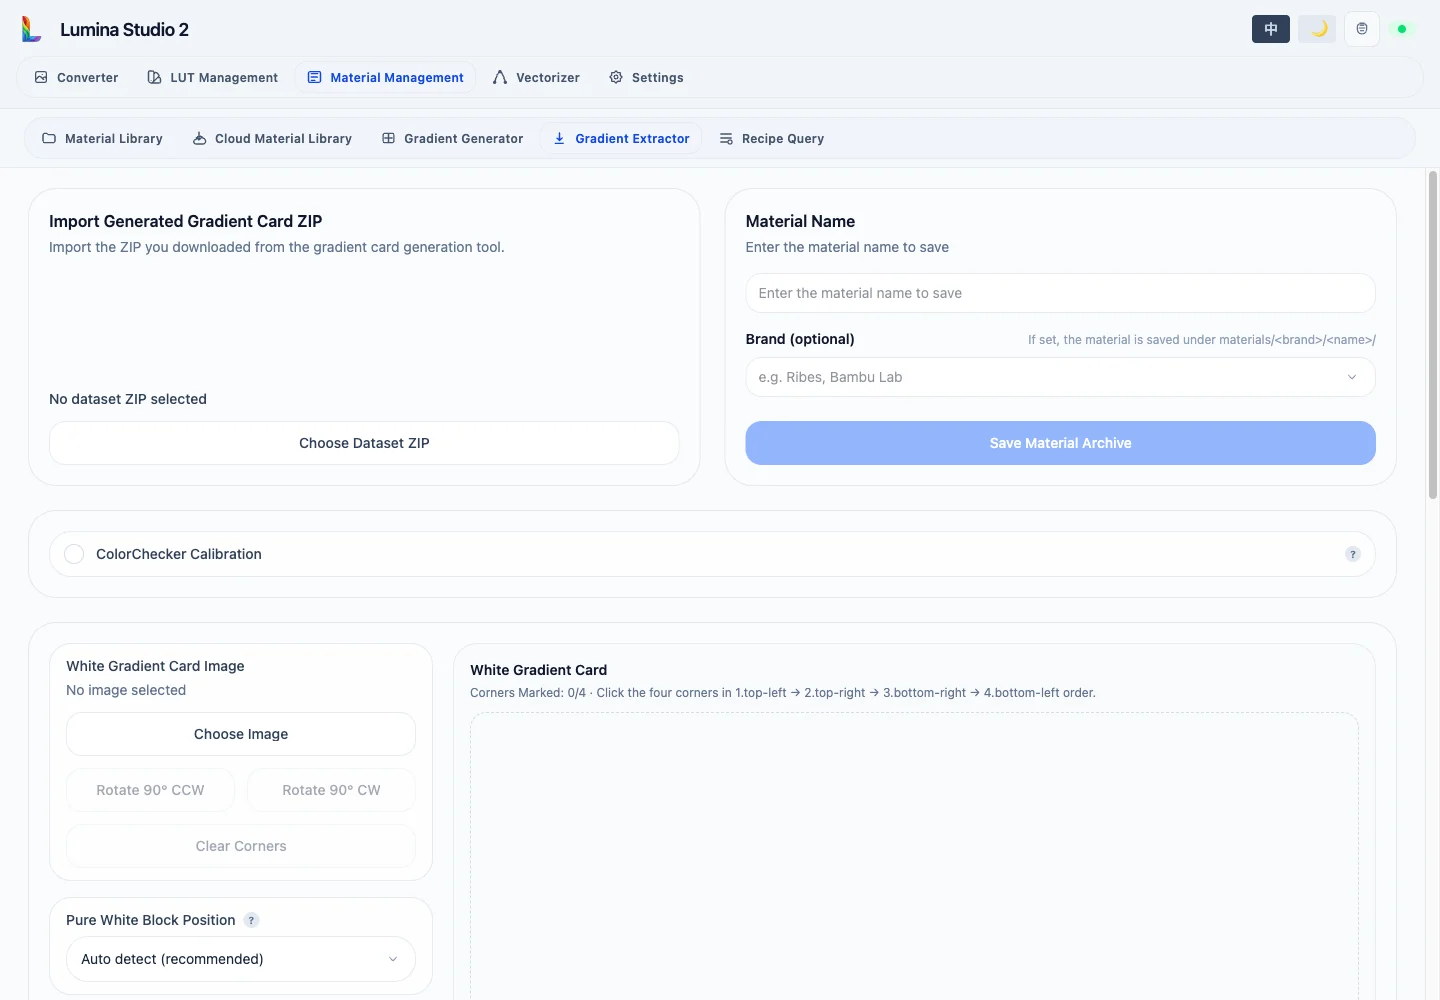
Gradient Card Extraction fits a reusable layer-prediction archive from a white-substrate and a black-substrate card printed with the same material.
Required files
Provide the Kit ZIP from Gradient Card Generation, a complete photo of the white card, and a complete photo of the black card.
Use the same camera, exposure, white balance, and calibration settings for both photos. Avoid glare, clipped highlights, and shadows over sample patches. If the current environment cannot decode HEIC/HEIF, convert the files to PNG or JPG.
Image source and ColorChecker
The default source is a direct camera or scanner capture. Enabling ColorChecker Calibration lets you correct and confirm the white and black images separately; accepted images are explicitly recorded as corrected sources.
Repeated verification runs can merge only when their source class matches. Raw captures and ColorChecker-corrected images are not mixed into one history set.
Rotation, corners, and anchor patches
After upload, rotate either image by 90° when needed. Mark the card corners in this order:
- top-left;
- top-right;
- bottom-right;
- bottom-left.
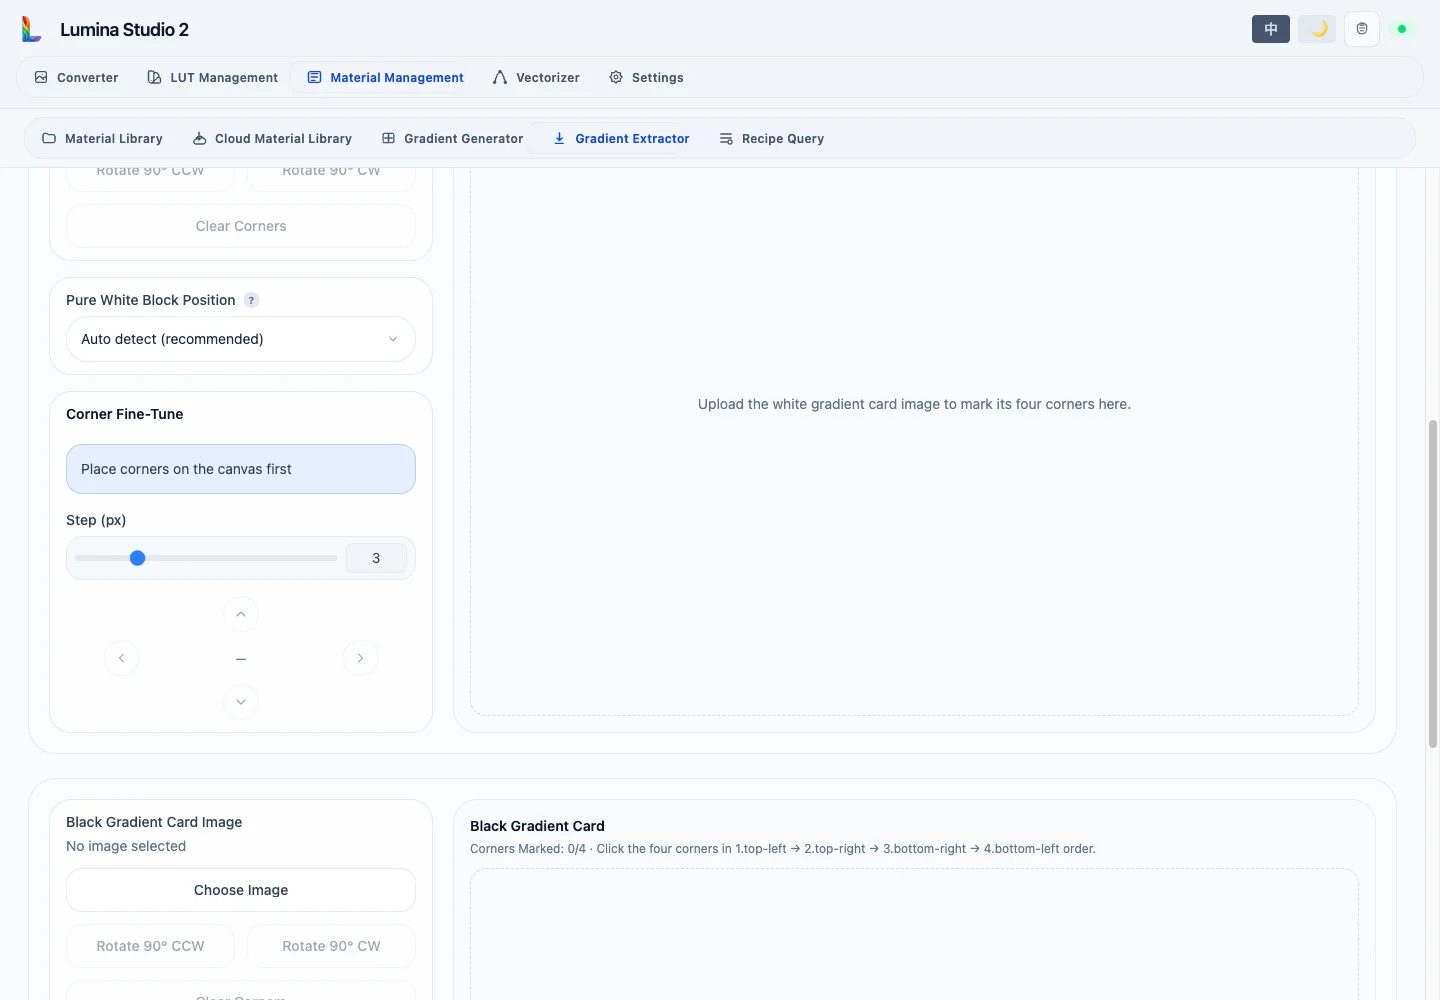
Pure White Block Position and Pure Black Block Position determine the sampling order. Keep Auto Detect unless orientation detection is unreliable, then identify the corner containing the exposed pure substrate patch.
Once corners exist, select corner 1–4, choose a 1–10 pixel nudge step, and move it with the directional buttons. Keep
the quadrilateral on the usable card area rather than including the table, fingers, or outside background.
Extract and save
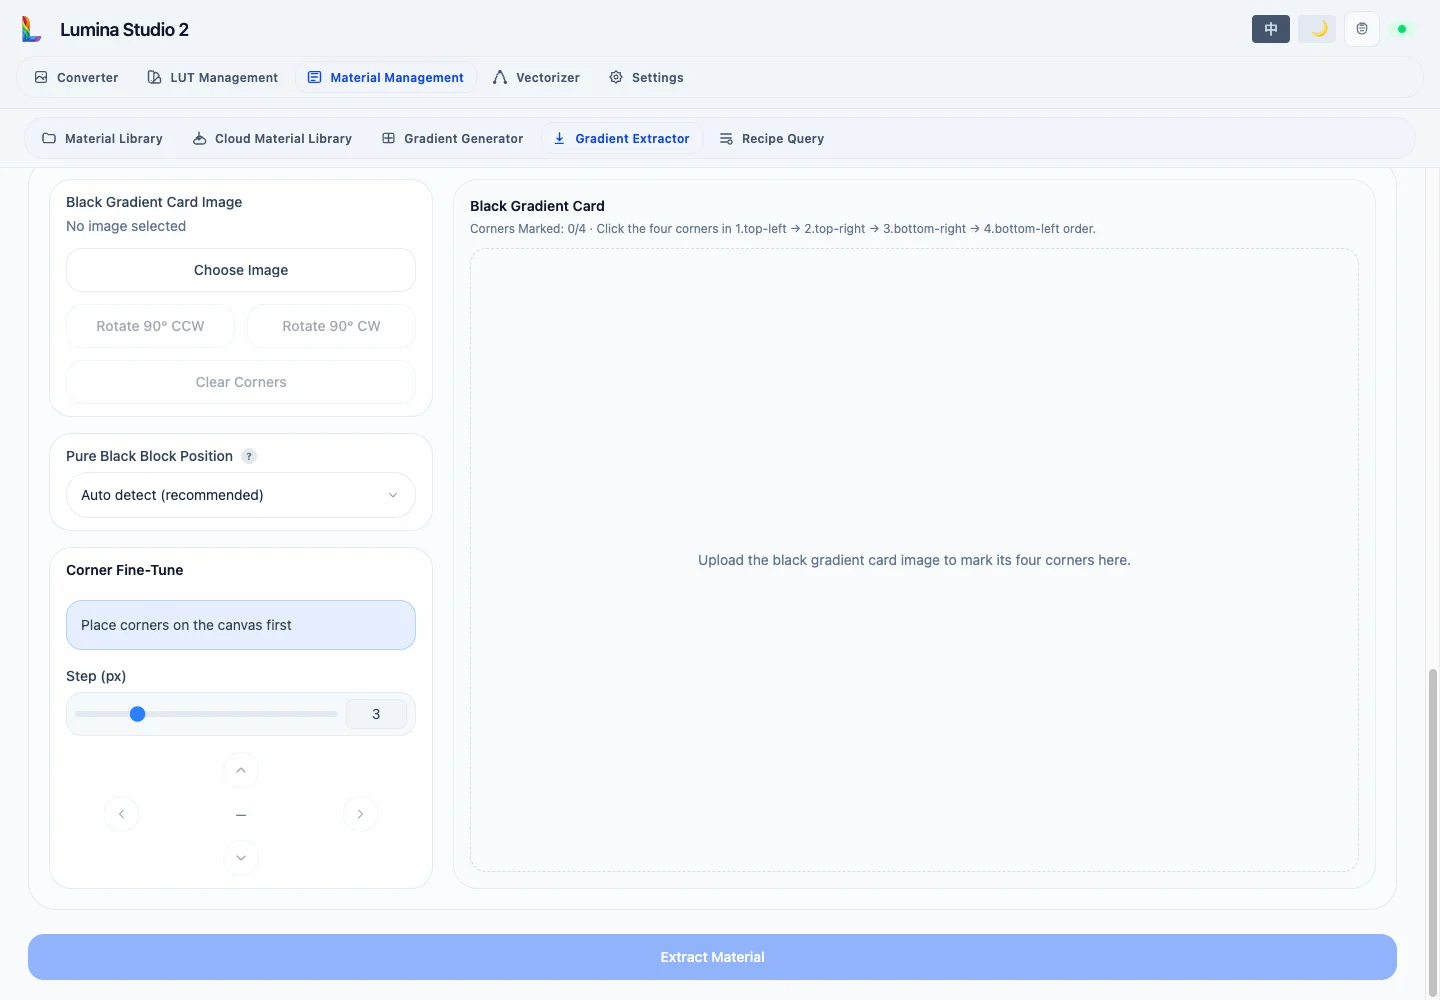
Extract Material becomes available after the ZIP, both images, and both four-corner sets are complete. Results include the perspective-corrected sampling boxes, estimated RGB/HEX, mean and maximum ΔE, linear and per-channel RMSE, white/black orientation confidence, and raw fit data.
A material name is required before saving. Brand is optional and may reuse an existing brand or create a new one. When re-verifying an existing archive, choose Merge or Override as explained in Editing and Re-Verification.
During re-verification, Cancel Re-Verification exits the active verification target without deleting the existing
library record. Merge Result adds the new samples to history of the same source class; Override Result replaces
the archive's current fitted data. The details view can also download stage_A_parameters.json to preserve the fit
parameters and diagnostic summary from this run.
Review the saved archive in the Material Library, then validate its stack prediction with Material Recipe Query.
Submit feedback
Your feedback is sent privately to the Wiki maintainers and is not displayed publicly on this page.