This article was prepared with AI assistance based on an analysis of the current Lumina Studio source code, existing Wiki content, and relevant workflows. It has been checked against the current version, but omissions or details that become outdated may remain as the software evolves. If you find an error or have a clearer explanation, example, or suggestion, please leave a comment on this page or propose an edit on GitHub.
Fridge Magnet cavities
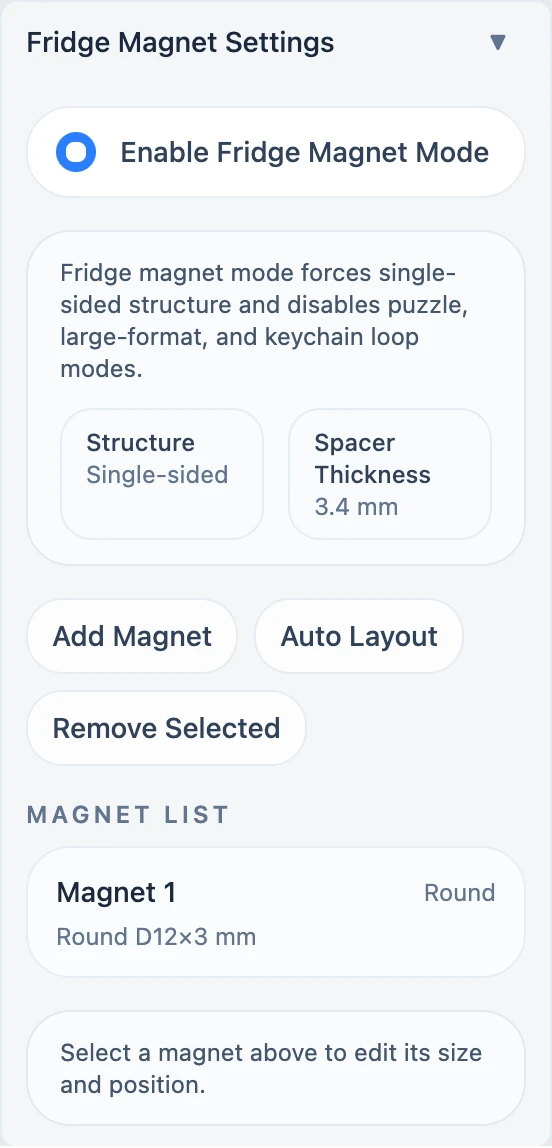
Fridge Magnet mode cuts one or more cavities into the backing. It forces Single-sided structure and disables Puzzle, Large Format, and Keychain Loop so those workflows do not compete for the same backing geometry.
Presets and custom sizes
Round presets are D6×2, D8×3, D10×3, and D12×3 mm. Rectangular presets are 10×5×1, 15×5×2, and 20×10×2 mm. Changing shape loads that shape's default preset; editing a dimension changes the item to Custom.
Custom ranges:
- round diameter: 1–50 mm;
- rectangular width and height: 1–80 mm;
- thickness: 0.5–3.1 mm;
- centre X and Y: -999–999 mm.
These describe the target cavity. Measure the physical magnet and validate assembly clearance with a test print.
Multiple magnets and layout
Add Magnet creates a default round magnet and lays out all items again. Auto Layout retains their dimensions and recalculates positions. Remove Selected affects only the selected list item. Clearing selection does not delete it.
Automatic backing thickness
Lumina reserves roughly 0.4 mm of shell beneath the thickest magnet and rounds to 0.08 mm layers. If necessary, the backing grows automatically, up to the 3.5 mm safety limit. The panel summary shows the resulting thickness.
Inspect the cavity roof, remaining shell, and edges layer by layer in the slicer before printing.
Submit feedback
Your feedback is sent privately to the Wiki maintainers and is not displayed publicly on this page.